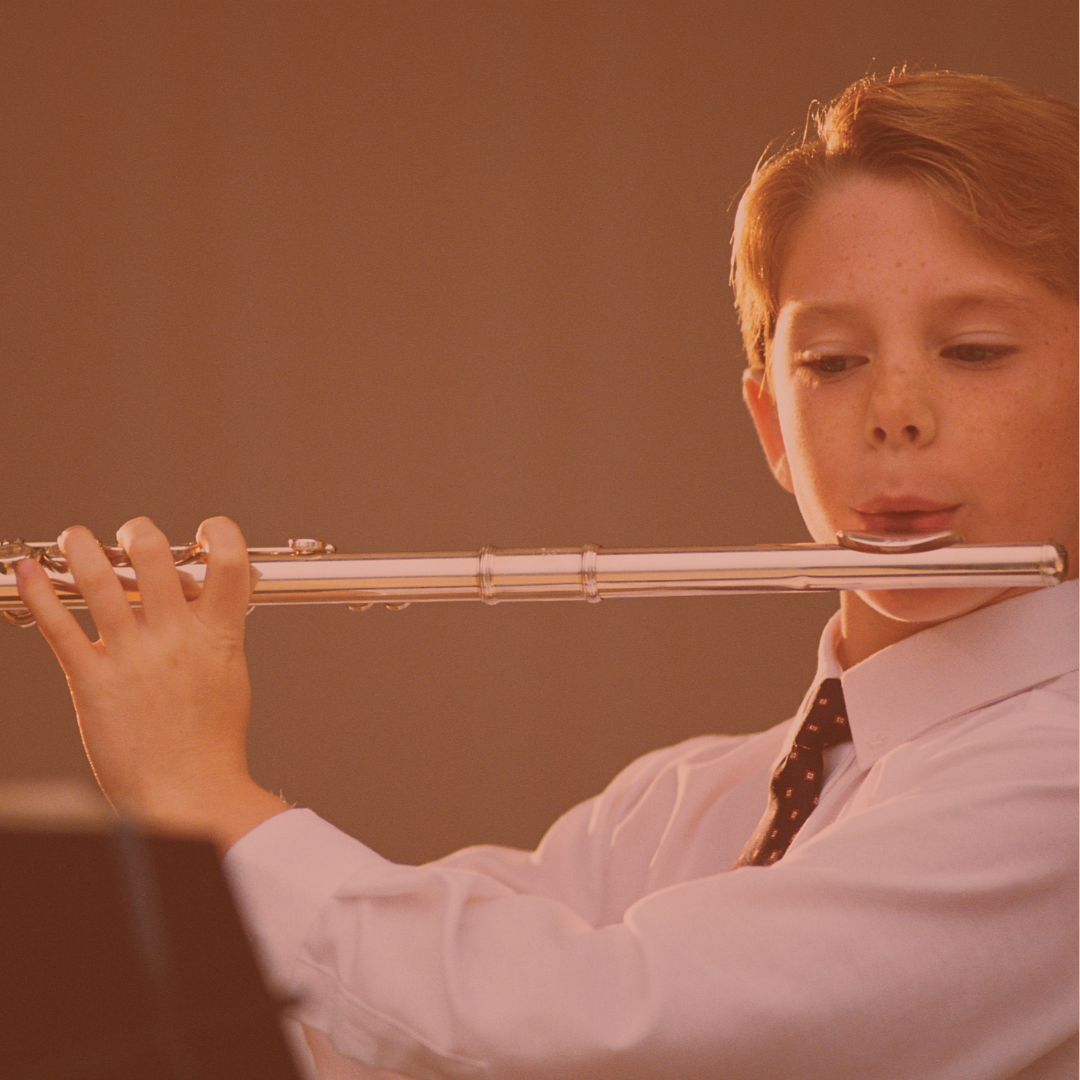
2021 Musical Interview Questions

It’s been a wild year for kids but many musical milestones were made. The beginning of 2021 is a great time to reflect on what you accomplished in lessons this year, and set goals for the New Year. Print or share your screen to reflect with these 2021 Musical Interview Cards.

Download 2021 Musical Interview Cards

2021 Musical Interview Cards.jpg

2021 Musical Interview Cards copy.jpg

Musical E-Cards for the Holidays

AdobeStock_335860049.jpeg

With many students unable to see the family members they may normally spend time with, Musical E-Cards can be a wonderful holiday gift. It’s a great goal for your student to work towards, and their videos will be cherished by family members and friends. Imagine receiving a customized musical performance that you can re-play over and over!?

Want to customize your e-card like this example? Follow the directions below.

Customize Musical E-Card

  1. Navigate to Kapwing Free Video Editor

  2. Upload student video

  3. Add border by expanding padding (picture below)

Screen Shot 2020-11-30 at 5.45.11 PM.png

4. Add text
5. Export and send!


Do Zoom Music Lessons Work?

freeimage-36684459-high.jpg

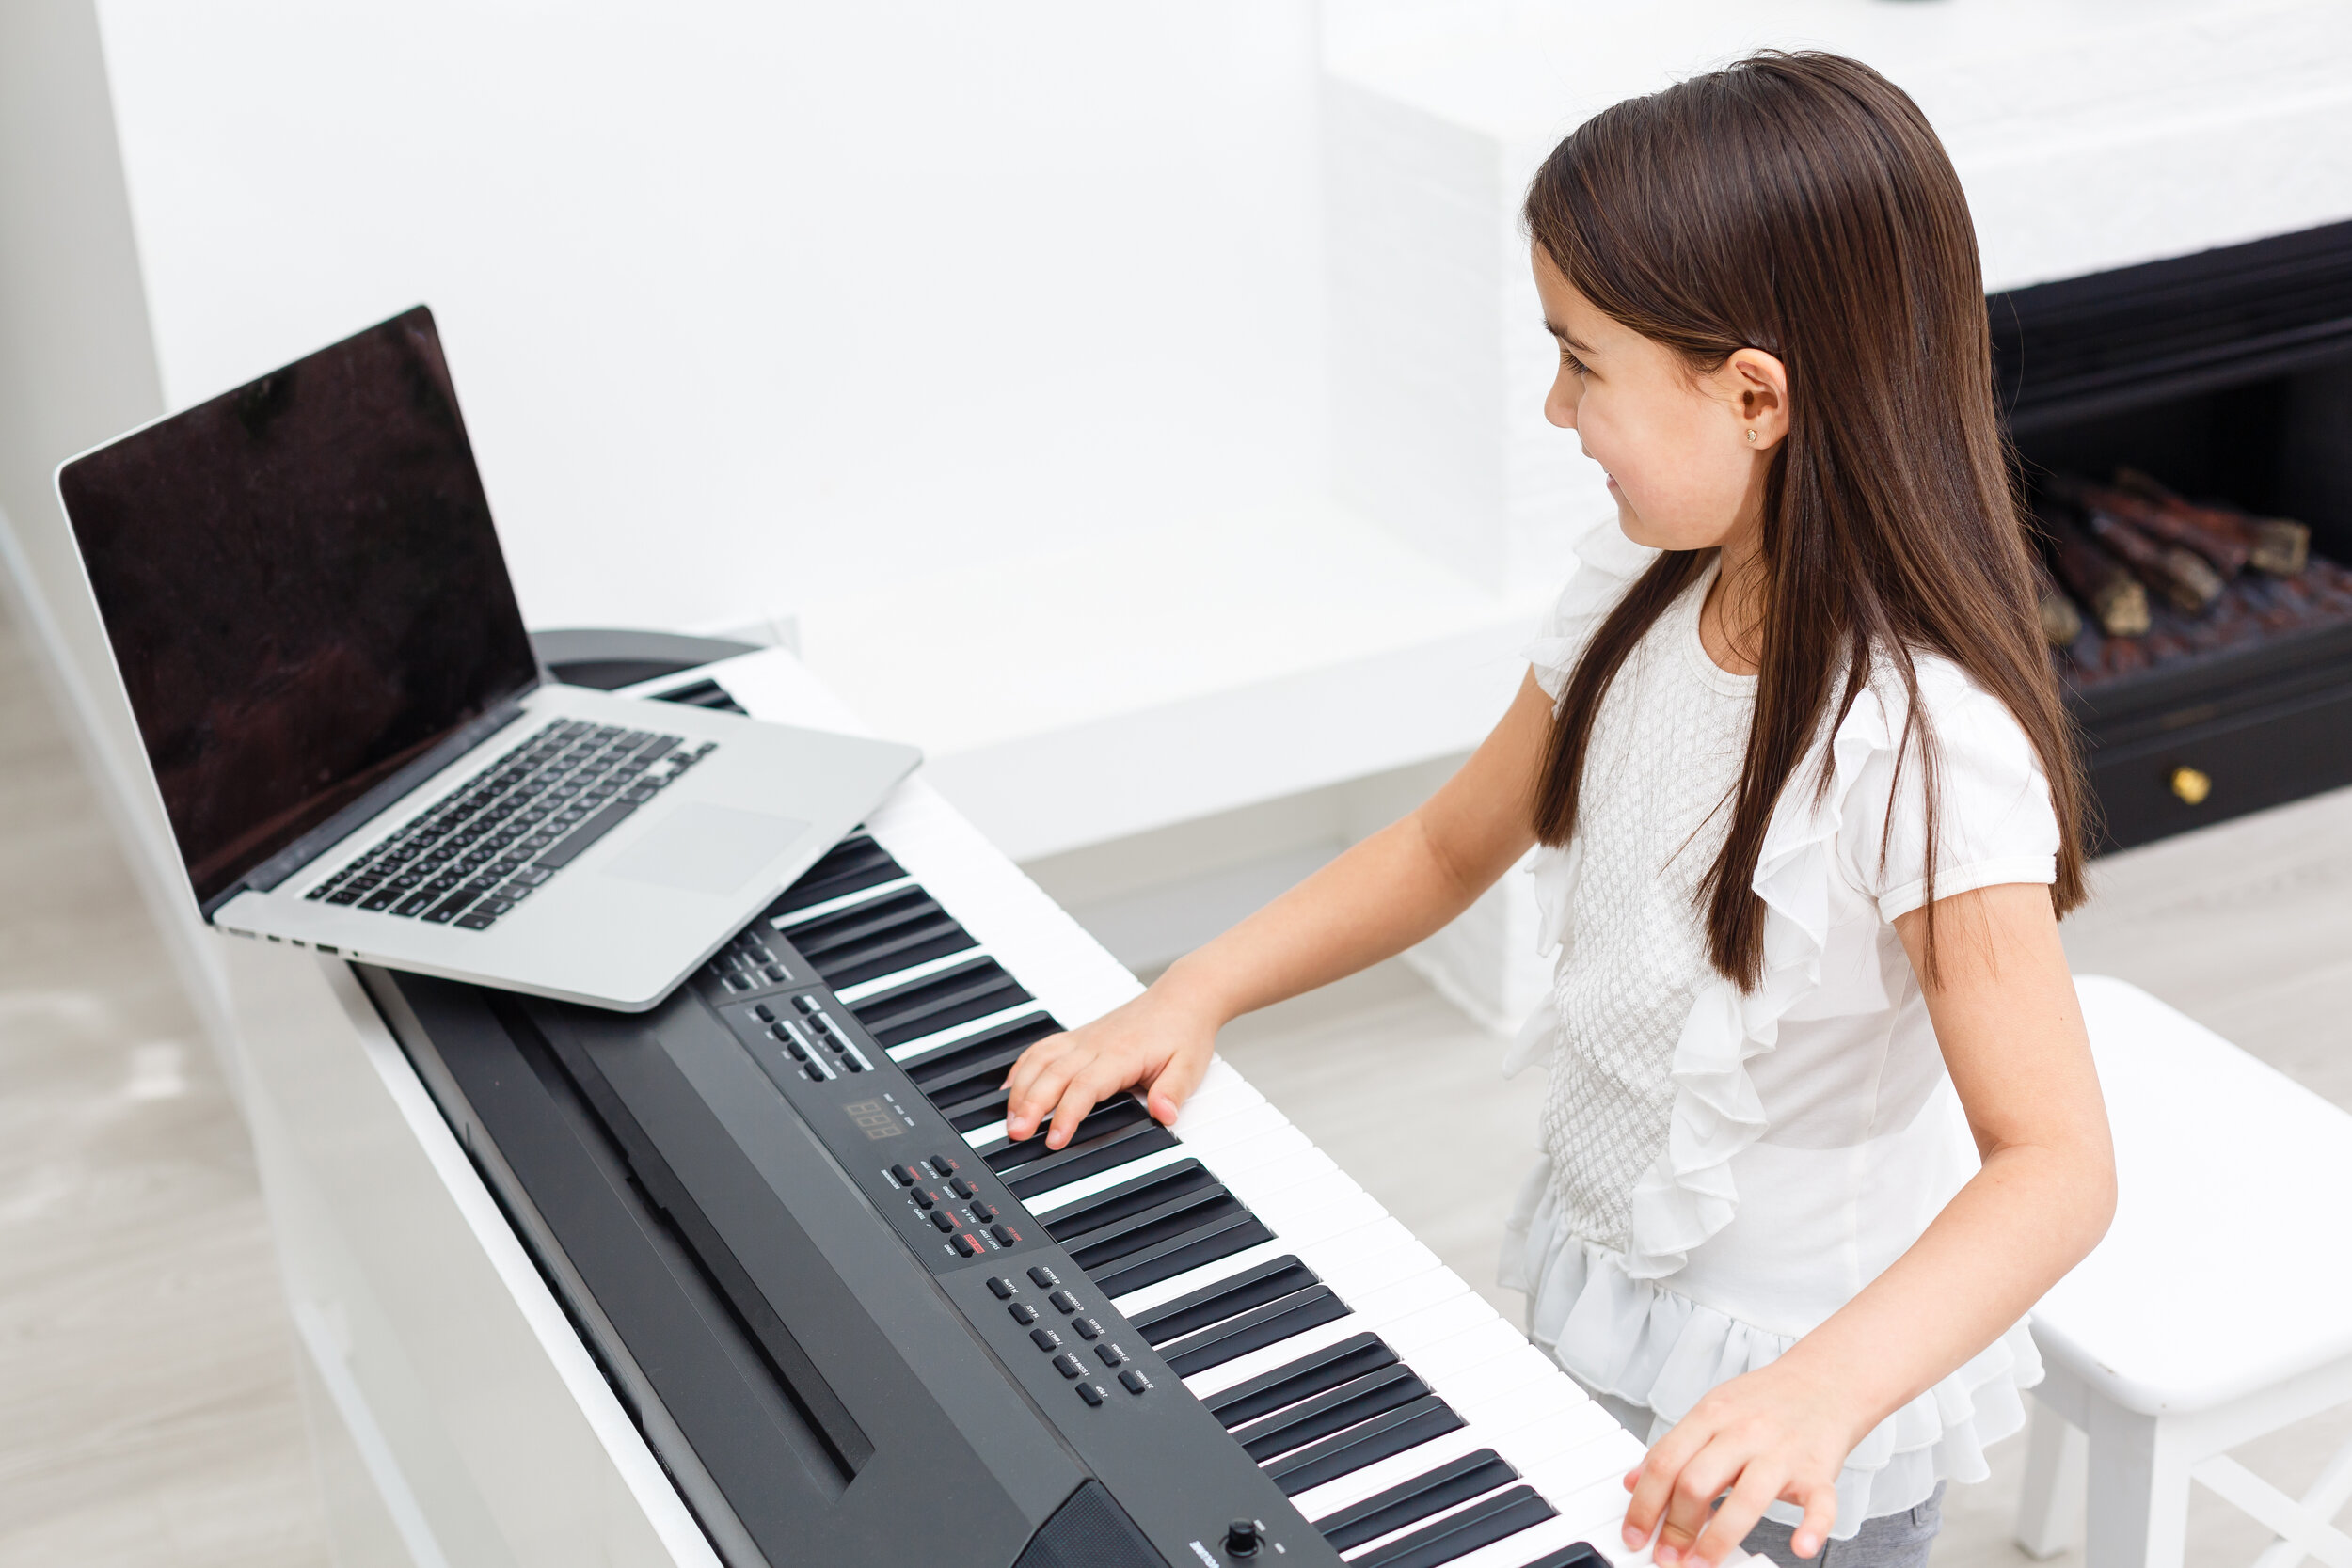
The most important factors in success of a student is consistency in lessons. Remote lessons allow students to maintain weekly lessons when they aren’t able to see their teacher in person for a period of time. Much can be achieved from online lessons, for instance a voice teacher can correct the posture of a voice student, and piano teacher can work on correct fingerings, clap rhythms, and work on expression, etc.

Tips for Successful Remote Music Lessons

  • Ensure a good connection! Zoom and Webex are excellent 3rd party platforms.

  • Consider using an iphone tripod to provide the best angle

  • Make sure you are not standing in shadows, or back lit. A tripod with a light is a great solution.

  • Find a quiet and focused area, just as you would with an in-person lesson.

  • Write down all notes your teacher gives you during the lesson, and establish a goal for the week.

  • Reach out to your teacher between lessons if you need help. They want you to succeed!

Final thoughts: It is optimal for students to see their teacher in person. However consistency is the most important aspect of lessons and much can be achieved from online lessons. It’s far more advantageous to have online lessons than a year long break from lessons.

Have you had experience with online lessons? Comment below.

What’s the best age to start private music lessons?

Though the “right” age to begin music lessons is unique to each child, many students as young as 4-year olds can have great success in music lessons.

Music Lessons for 4 – 6 year olds
Develop a love for music by learning basic rhythms and notes that can be applied to a progressive method book and relevant supplementary material. Students can learn basic chord patterns and accompany themselves while singing. Lessons should be centered around play and discovery of the joy of music. The piano and Loog guitar are ideal instruments for this age range.

Music Lessons for 7 – 10 year olds
Increased finger dexterity and focus enables students to take on more advanced material. Students may benefit from longer lessons and practice sessions. Students in this age range may be ready for instruments that require more coordination and/or dexterity such as the guitar, trombone, trumpet, and drums.

Music Lessons for Students 11 years +
Students of this age are ready for any instrument and pursue complicated material and refine their technique and expression. As voice students hit puberty they begin to come into their adult voice and be ready for more advanced classical training.

Setting Your Child Up For Success In Private Music Lessons

  • Find a teacher who specializes in working with young children and can incorporate play, make-believe and games into the lesson.

  • Make practice a part of the weekly routine. Sit with your child during practice until they are at least 6 years old.

  • Find a studio that offers regular performance opportunities to keep your child inspired and focused.

  • See live music of different genres and ensemble make-ups.

Learn To Read Rhythm With Stick Notation

Rhythm is an integral part of playing any piece of music, and it’s important that students get a solid foundation in rhythmic notation from the beginning. Often times, rhythm is explained in a mathematical context (i.e “two 8th notes are equal to one quarter note). Although it is key that students understand these mathematical relationships, they can be complicated to translate into the context of sound.

I came across this cool method created by Michiko Yurko that uses stick notation and word association to teach rhythm. The method uses a specific word for each type of rhythm as well as a hand symbol. The pronunciation of the words naturally fit the rhythm of the notation. Michiko has created a word for almost every rhythmic notation imaginable. You can find Michiko’s books/games/workshops at MusicMindGames.com.

Basic Rhythms

Quarter Note= “blue”

Two 8th Notes= “jello”

Triplet 8th Notes= “pineapple”

Four 16th Notes= “huckleberry”

Check out this video by Andrew Ingkavet for a demonstration!

This 11-year old uses “Blue Jello” To Learn Mozart:

Teaching Sight-Reading to Kids

I’ve been thinking a lot lately about the best ways to introduce sight-reading to students (particularly younger musicians). One of the most common ways music is taught to be memorized is with mnemonics. We all know “All Cows Eat Grass” for bass clef spaces, and “Every Good Boy Does Fine” for treble clef lines etc. It’s also common for students to learn notes with flashcards or other memorization techniques. Although these methods are helpful for some, I have found that it’s useful to explore other methods of sight-reading that are more musical and pattern based.

Why I don’t believe mnemonics are helpful (for most kids): 

Hard to Remember

Students don’t remember which of the 4 mnemonics fit which clef and whether they refer to lines or spaces.

Extra Step in Process

For students who are still learning to read words this creates an extra step (i.e if they are remembering bass clef spaces with “All Cows Eat Grass,” they first have to remember which letter “Grass” starts with and then apply it musically). I have found that this adds confusion and is not helpful in the process. 

Not musical

These mnemonics have no connection to anything musical or pattern related.

Techniques I have found more helpful:

Identify Direction of High/Low

First start by identifying the patterns of high and low sounds. On piano it is not immediately apparent that notes going lower mean that you go to the left on the piano and visa versa. Here is a simple game I created to identify high and low patterns High/Low Game.

Identify steps and skips

Susan Paradis has a great game for identifying steps and skips called Step Skipping Along. Even if a student doesn’t know every note they can still play pieces by identifying intervals.

Step-wise reading

Music reading is all about following patterns and the direction of the music. I love this sight-reading exercise from Pianimation called Sight Reading Cards.

Small Chunks

Eventually we do want students to be able to identify notes independently. If you are to use flashcards, I love these fly flashcards. I don’t use all the cards at once though, we’ll start with just spaces in treble clef and then only lines in treble clef etc. My students love hitting the cards with a fly swatter as I call them out. Click here to download Fly Flashcards.

Don’t Give Out The Notes

When a student doesn’t know a note encourage them to figure it out on their own by finding a note they already do know and counting the lines from that note. This also makes much more sense visually and musically. You can remind them that the line in between the dots in bass clef is an F, and the treble clef symbol wraps around a G. 

Stairstep Game

This game makes great musical sense by encouraging students to see notes as they lie on the staff Musical Alphabet Mystery.

Reading Music vs. Memorizing

It is very common for beginning students to memorize music quickly or figure it out by ear, and stop actively reading the notes when playing. This is a natural tendency because we start with simple, stepwise songs (songs that go up and down a scale with no skips between the notes), with melodies and finger patterns that that are very easy to commit to memory. 

It’s important to note that ear training and memorization skills are highly valuable skills! The challenge is that if students try to memorize music before they have really learned it (or just memorize bar by bar) they are not learning to sightread to their fullest capacity. When we approach harder material it will be difficult to read if the sight-reading skills haven’t been developed with the beginning material. This can lead to frustration and boredom when a student’s playing ability exceeds their reading ability.

Below are tips to make sure your student is actively reading the notes while playing:

Don’t stay too long on songs

Choose which songs are for practicing reading and which are the ones you will polish for performances.

Practice sight-reading exercises

Short sightreading exercises like these Giant Sight Reading cards from Pianimation can make a huge difference if done just a few minutes a day.

Hold the book over your student’s hands

Try holding the books so that your student can’t see the keys. A great preparation for this is to play a game where the student closes their eyes and tries to find the notes on the keyboard you call out (hint: find the groups of black keys first).

Analyze music without playing

Analyze which direction the notes are going in and whether they are steps or skips. This is a great preparation worksheet: Steps & Skips Worksheet (click to download). The more they understand the music, the easier it will be to read. 

Help them follow along

Help your student keep their eyes on the music by following along with your finger. Eventually they will be able to follow along with just their eyes.

Stay at the right level

Every student learns sightreading at a different speed. Moving on too quickly can cause the student so much frustration and confusion that they stop looking at the notes. Work on songs that are just challenging enough that they need to keep their eyes on the page, but at a level the student can access.

Getting Your Child’s Instrument

So your child is ready to take music lessons, and there is only one problem…you don’t have an instrument yet. You may be wondering if you should invest in an instrument before you know if your child likes it, or you may just not know where to start in the buying process. The tips below will help you make a decision about when and how to buy your first instrument.

Purchase the instrument after the first few lessons:

Borrow an instrument from a friend

You may know lots of people that wouldn’t mind lending out their instrument for a few weeks.

Have the first lesson at at a neighbors house with the instrument 

Most in-home music teachers will be happy to go to neighboring house for the first lesson or two (i.e a neighbor with an upright piano).

Use your teacher’s instrument 

It is usually not possible to transport larger instruments like keyboards, but for smaller instruments often times a student can use their teacher’s instrument for the first lesson. This is the case for guitars, ukuleles, violins etc. Be sure to ask about this in advance.

Rent an instrument 

Try a store like Rental Instrument or Carroll Music Instrument Rental, many piano stores will also allow you to rent monthly.

Ready to buy an instrument? Read on!

Keyboards are okay! 

If you would prefer not to invest in a piano, start with a small keyboard. Eventually you may decide to upgrade but a keyboard is fine to start with. Need information on what kind of keyboard to buy? Check out this blog Find The Best Keyboard For Your Budget.

Buy a used instrument 

Look on Craigslist or put out an email to friends seeing if anyone would like to sell their instrument. If you buy used, be sure to get an intrument that still functions at a quality level. In the beginning of learning a new instrument, not only is your child learning the notes, but learning to physically make the instrument sound good. If your child is playing a poor quality instrument (i.e, a guitar that won’t stay in tune, a keyboard with broken keys etc.) it will likely cause a lot of frustration in the beginning. Of course, this doesn’t mean you need to go out and buy a Gibson guitar, but getting an instrument that functions well is important.

Try out different models in a store 

Go to a music store try out different models of the instrument. Stores like Sam Ash or Guitar Center have samples of most intruments that you can play.

Stage Fright: A New Perspective

“I’ve been absolutely terrified every moment of my life, and I’ve never let it keep me from doing a single thing I want to do.” – Georgia O’Keefe (painter).

When you’ve encountered stage fright and told yourself to “just calm down,” how well has it worked? Most likely, the more you tell yourself to stop being nervous the more nervous you get. The fear of stage fright causes you to have more stage fright, and the cycle continues making you feel miserable. This article will explore new perspectives for understanding and reacting to stage fright. 

Mary Fensholt, a consultant and author of The Francis Effect: The Real Reason You Hate Public Speaking and How to Get Over It, states that stage-fright dates back to a fear of being eaten alive! Being singled out and scrutinized was a precursor to being gobbled up by a predator. When our ancestors were being chased by lions and tigers they relied on the sensations of anxiety to keep them alive in immediate danger. Sensations such as rapid heartbeat, shakiness, rapid and shallow breathing, tensing muscles, dry mouth (sounds familiar?) were essential for their survival. However these symptoms are no longer helpful to us, especially in the case of performing. So we have to learn how to get along with these feelings so ingrained in our DNA.

We can begin to embrace performance anxiety through a process called mindfulness. Mindfulness is defined as bringing one’s full attention to the present experience and observing your feelings rather than controlling them. In the case of stage-fright, we don’t try to force the fear to go away but rather acknowledge it’s existence and allow space for it to be there without engaging in an inner dialogue with it. It seems counter intuitive to not fight back against the fear, but imagine this scenario: You are sitting in a seat above a tank of sharks with a lever that can dump you into the pool at any time, and you are told that the only thing you have to do in order to not get dumped into the pool is to “not panic.” Most likely the first thing you would do is panic. The more you tell yourself not to have a thought, the more likely you will be to have it. 

World-renowned Zen master, spiritual leader, and author Thich Nhat Hanh summarizes this point well in his book Peace Is Every Stepsaying: “It is best not to say, ‘Go away, Fear. I don’t like you. You are not me.’ It is much more effective to say, ‘Hello, Fear. How are you today?’ Then you can invite the two aspects of yourself, mindfulness and fear, to shake hands as friends and become one. Doing this may seem frightening, but because you know that you are more than just your fear, you need not be afraid. As long as mindfulness is there, it can chaperone your fear […] You calm your feeling just by being with it, like a mother tenderly holding her crying baby (53-54).”

Is stage fright really such an “unacceptable” feeling? What about the feeling you have when you are at a wedding, a birth, a surprise birthday party? These feelings of adrenaline are comparable to performance anxiety, yet we would never label them as anxiety, but simply as excitement of being in the moment. If you are unwilling to experience the feeling of anxiety when you perform, you will most likely never feel comfortable with performing. In “Don’t Panic”, R. Reid Wilson offers “to conquer panic, then, you must intervene at the point of interpretation (133).” The reaction of fear is very powerful, but you have a choice in how you react. Acknowledge the fear, then stay present and let it be. Ride with the fear and the fear will lose its power. By not trying to control and fight against your stage-fright, you will actually diminish it.

Of course, there are many steps you can take in preparation for a performance to mitigate stage-fright. Being well-prepared, positive visualization, and mock rehearsals will all lead to a better state of mind on performance day.

In the words of the great Stevie Nicks: “If you have stage fright, it never goes away. But then I wonder, is the key to that magical performance because of the fear?”
Preparing For Your Music Recital

 Music recitals are always an exciting event. Performing helps you grow as a musician and is a great confidence builder. Here are some tips to help you feel awesome on performance day. Be sure to invite all your friends and family to share in your big moment!

Song choice

Make sure that you pick a song for your recital that you have had enough time to work on. It should be a song that you really like and won’t get bored from practicing a lot. Sometimes it’s tempting to want to change songs a week before the recital because you learned something new, but generally it’s best to stick with your prepared song.

You can never be too prepared

You should feel so comfortable with your song that you can do it in your sleep. If there are any parts in your piece that you feel uncomfortable about, slow them down and practice them separately until you can do them 10 times in a row with no mistakes. When nerves are in the picture, mistakes are more likely to happen so it’s helpful to have the material in your muscle memory.

Dress rehearsals

Leading up to your performance do as many run-throughs of your song as possible. Practice walking up to your intrument and finding your starting notes. If you make a mistake during your run-through, keep going as you would in your real performance. Then go back and work on any areas that felt uncomfortable. 

Clothing

Sometimes clothing can restrict playing or make it feel uncomfortable, particularly tight sleeves, collars, and dresses. Be sure to try out whatever you’ll be wearing and make sure you feel completely comfortable in it.

Mistakes happen!

If you end up making a mistake don’t worry! Just keep going and you’ll be amazed that most people don’t even notice. The audience wants you to succeed and will be cheering you on the whole way.

Have fun

Everyone says it but it’s so true! Don’t put too much pressure on yourself and go up with a smile 🙂